

Making bread is no rocket science; you can prepare fresh bread at home by playing with the three basic ingredients, which are flour, yeast, and liquid. Making bread at home is both fun and exciting. Read on to learn how you can prepare bread at home, following some simple easy to practice ways.
1. Gather ingredients
Before you start preparing any dish, it is important that you gather all the essential ingredients. In the case of bread making as well, you will need to gather the important ingredients (flour, yeast and liquid) and the equipments, which will help you during the process of bread making. Double-check the list of ingredients before preparing bread.
2. Measure the ingredients
It is very important that you measure the ingredients for bread making. Right quantity is essential for making perfect bread. You can measure the ingredients by weight or by volume. Choose the method that you find convenient. Measuring by weight is more reliable than the other method of measuring by volume. The Bakerâs percentage method can also be used if you are aware of it.
3. Pre-ferments
The pre-ferment step is optional; it is not necessary for you to employ this step during bread making. Under this step, a pre-ferment is used to make the finished bread extremely spongy. Fermentation is primarily interplay of yeast, water, and flour. During fermentation, water tends to activate the flour enzymes, which in turn converts starch into sugar. This sugar acts like food for the yeast, which multiplies rapidly producing alcohol and carbon dioxide. The carbon dioxide forms bubbles, which makes the dough to rise. Fermentation process is quickened by high temperature. This step is optional; you can try it if you wish to enhance the flavor and texture of the finished bread. Pre-ferments are of five types namely biga, poolish, sponge, sourdough, and unrefreshed sourdough starter.
4. Mixing and kneading
The next step in bread making is mixing and kneading. You can alternatively make no-knead bread if you desire. This step mixes the ingredients of the bread properly, making it better in taste and texture. Once the ingredients for the bread are measured for proper quantity, the dough needs to be kneaded. The process of kneading generally involves pushing and pulling of the dough in order to strengthen the gluten of the dough by stretching it. Gluten is primarily responsible for giving the bread a proper texture. You can use a food processor or simply your hands for kneading. If you are making bread at home more frequently, you could also use a bread machine or a strand mixer. Make sure you add salt to the dough post fermentation as it tends to kill the yeast. Add cool or warm water to the flour for bread making. Avoid ice or extremely warm water for this purpose as it has the potential of killing yeast. Make sure that the ingredients are evenly mixed and the dough is perfect. For perfect dough, you must ensure that it is neither too sticky nor too dry.
5. Proofing
The process of proofing is also known as the first rise. This is the fermentation process of the bread. Proofing is mandatory for developing proper structure and adding an amazing flavor to the bread. The technique and process is the same as that in the pre-ferment step. Make sure to keep the dough covered during proofing to keep it moist and soft. You can determine that proofing is complete when the dough has risen twice in volume. The number of times you need to proof the dough depends on the kind of bread you are preparing. For focaccia bread, you need to proof the dough just once whereas for rye-loaf bread you need to proof the dough at least thrice. For proper proofing, an ideal temperature of 75°F to 80°F is essential.
6. Punching and turning dough
After the dough has been proofed, you will need to press it down and turn around. This helps in preventing over-proofing. Over-proofing can make the gluten stretch beyond capacity and collapse, which would result in flattening of the dough. Punch the bread and turn it around to deflate it and make the dough gentle.
7. Second proofing
In case your bread type requires second proofing, let the dough be proofed once again. Second proofing requires less of time as compared to that needed for the first proofing. Bread experts believe that over-night refrigerator proofing is more suitable for second proofing.
8. Dividing the dough
At times, the dough needs to be divided in order to prepare separate rolls or loafs. You can use a sharp kitchen knife for dividing the dough or simply use a kitchen shear. Preshape the dough to form a proper bread loaf and allow it to rest for minimum 20 minutes.
9. Shaping
Different bread varieties require different shaping. Shape the bread as per your needs.
10. Final rise
After the dough is shaped as per the requirement, you will have to allow it to proof for one last time. Not all breads need to be proofed after shaping. Allow the shaped dough to rise for one last time. Do not forget to cover the dough during proofing, use an oiled plastic wrap to allow proofing to take place in warm environment. The shaped dough will rise double in size post the final proofing. The dough must not rise more or less than that, as it will cause trouble during the baking of the bread in oven.
11. Glazing
After the final proofing is done, you can opt for the glazing step if you want. This is an optional step; you can skip it if you want. Under this step, the bread dough is glazed in order to create effects on the crust of the bread. A mixture of water with dough can be used for a crisp crust. Alternatively, brushing beaten mixture of egg white also makes the crust crisp and gives shine to the bread. For brown crust, you can use egg yellow.
12. Baking
Bake the dough in an oven. Make sure that the oven is preheated for 45 minutes prior to baking. Add steam to the oven during baking in order to get maximum volume of bread. Steam tends to slow down crust formation. Rotate the bread to ensure that it has baked from all sides.
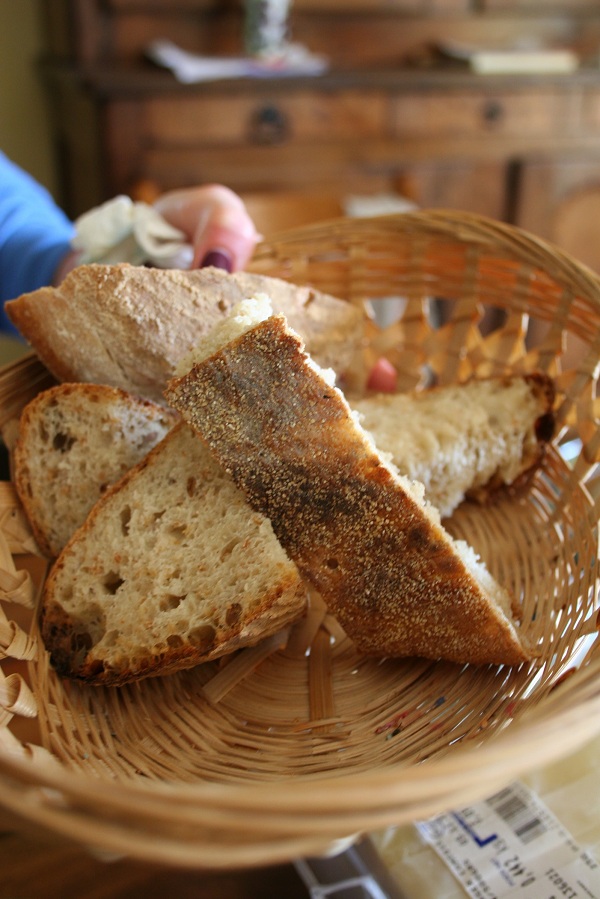
13. Cool and slice
Once the bread has been baked, allow it to cool down. Slice the bread loaf with a sharp knife after it has cooled down. Store the bread in cool places and use whenever you like.